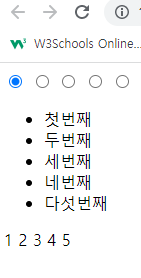
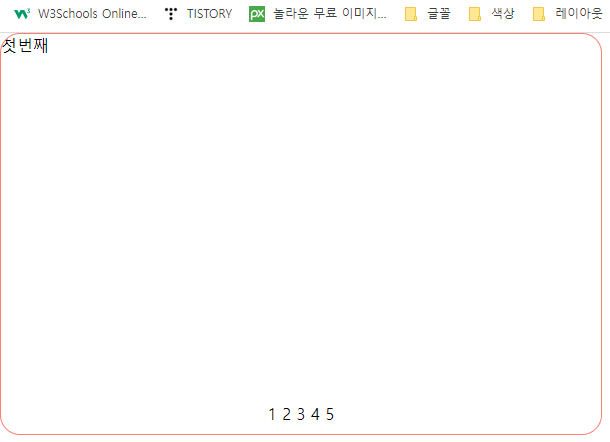
1. html 파일 작성 후
2. margin, padding 0으로 적용 / list 목록 점 없애기
* {
margin: 0;
padding: 0;
}
.slider>ul {
list-style: none;
}
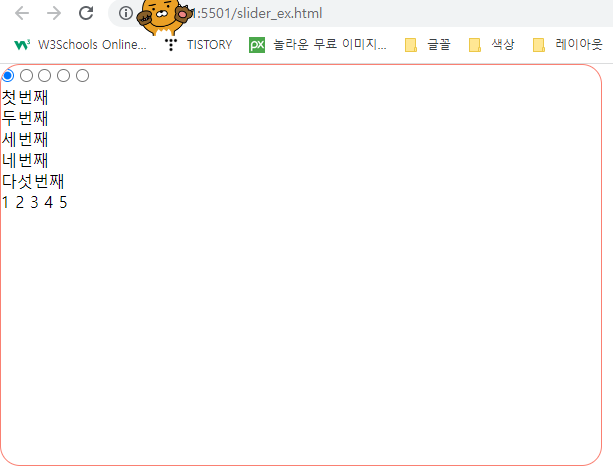
3. 슬라이더(div)가 들어갈 사이즈(가로, 세로) 지정
overflow: hidden;넘치는 부분은 숨김 처리, border-radius: 20px; 테두리 둥글게
.slider {
position: relative;
overflow: hidden;
width: 600px;
height: 400px;
border: 1px solid salmon;
border-radius: 20px;
}
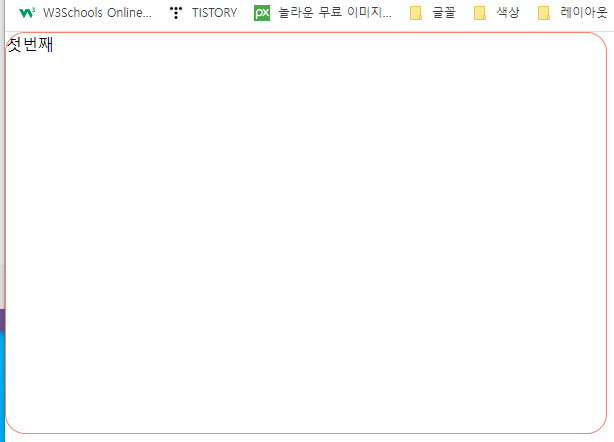
4. 슬라이더 화면 너비와 높이 지정, 슬라이더 화면의 개수 * 100%로 계산
.slider>ul {
width: 500%;
height: 100%;
}
5. li를 세로에서 가로로 변경, 화면에 한 개씩만 보이도록 너비 설정 100% / 화면의 개수
4개면 25%로 설정, 현재는 5개로 20% 설정
.slider>ul>li {
float: left;
width: 20%;
height: 100%;
}

6. 라디오 버튼 숨기기(label을 사용하여 버튼 모양을 변경하기 위해서 숨겨준다)
.slider input {
display: none;
}
7. label로 표시할 버튼의 위치 지정(슬라이드 하단 가운데 정렬)
.slider p {
text-align: center;
position: absolute;
bottom: 10px;
left: 0;
width: 100%;
}
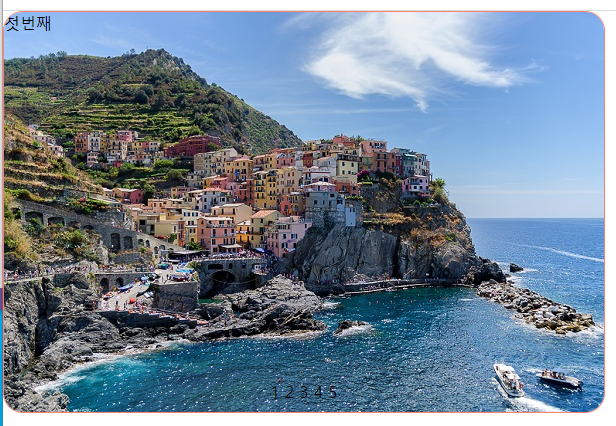
8. 슬라이더에 화면 넣기
.slider li:nth-child(1) {
background-image: url("image/img_5terre.jpg");
background-size: cover;
background-repeat: no-repeat;
}
.slider li:nth-child(2) {
background-image: url("image/img_forest.jpg");
background-size: cover;
background-repeat: no-repeat;
}
.slider li:nth-child(3) {
background-image: url("image/hd-wallpaper-ge50f1a648_1920.jpg");
background-size: cover;
background-repeat: no-repeat;
}
.slider li:nth-child(4) {
background-image: url("image/img_lights.jpg");
background-size: cover;
background-repeat: no-repeat;
}
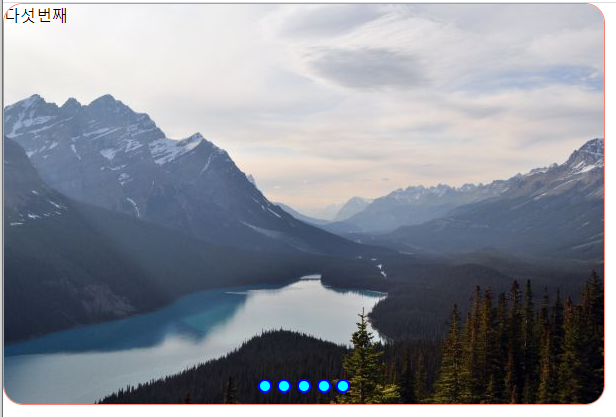
.slider li:nth-child(5) {
background-image: url("image/img_mountains.jpg");
background-size: cover;
background-repeat: no-repeat;
}
9. label 모양 만들기 (숫자는 html에서 제거한다)
cursor: pointer; 버튼에 마우스 올렸을 때 손가락 모양으로 마우스 모양 변화
.slider label {
display: inline-block;
vertical-align: middle;
width: 10px;
height: 10px;
border-radius: 50%;
border: 2px solid blue;
background-color: aqua;
cursor: pointer;
}

10. label 클릭 시(파란색 버튼) 화면 이동 처리
#pto1:checked~ul {
margin-left: 0;
}
#pto2:checked~ul {
margin-left: -100%;
}
#pto3:checked~ul {
margin-left: -200%;
}
#pto4:checked~ul {
margin-left: -300%;
}
#pto5:checked~ul {
margin-left: -400%;
}
11. transition 주기 (초단위 s, 마음대로 주기)
4번에 한 줄 추가 transform: margin-left 1s;
.slider>ul {
width: 500%;
height: 100%;
transform: margin-left 1s;
}
9번에 한 줄 추가 transition: 0.5s;
.slider label {
display: inline-block;
vertical-align: middle;
width: 10px;
height: 10px;
border-radius: 50%;
border: 2px solid blue;
background-color: aqua;
cursor: pointer;
transition: 0.5s;
}
항상 오타를 주의하자!
'공부기록 > 실습' 카테고리의 다른 글
| 배경 이미지만 투명하게 처리하기 (0) | 2023.02.27 |
|---|---|
| 드롭 다운 메뉴 만들기 (0) | 2023.02.27 |
| 테이블 스타일링 (0) | 2023.02.27 |
| 이미지 슬라이더 만들기 (0) | 2023.02.27 |
| Java 퀴즈 풀기 (0) | 2023.02.18 |